
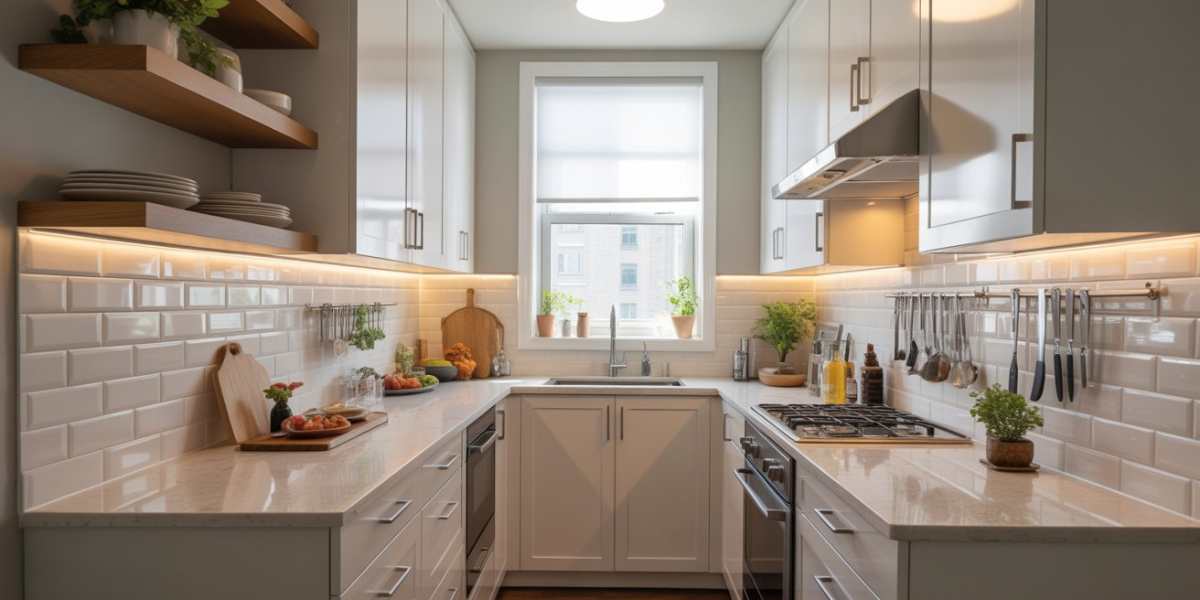
A small kitchen remodel succeeds or fails on two things most idea lists never mention: the order you do the jobs in, and knowing which jobs are worth paying for at this size. A small kitchen does not need a small version of a big renovation. It needs the right five or six changes, done in sequence, at a cost that makes sense for the space.
This guide gives you real budget ranges, the correct order of work, an honest DIY-versus-professional split, and 12 upgrades chosen for compact kitchens. Layout planning itself, work triangles and cabinet configurations, is covered in our small kitchen design layout ideas guide; this one is about the remodel.
What a Small Kitchen Remodel Actually Costs
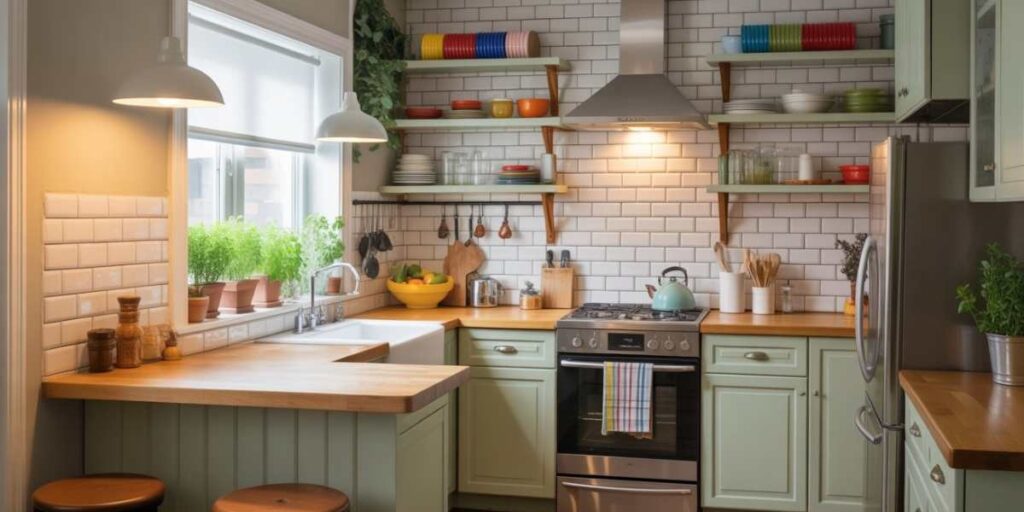
Ranges vary by country and city, but these bands are realistic for a compact kitchen (roughly 5 to 10 square metres):
- Cosmetic refresh ($500 to $2,500): paint cabinets, new hardware, peel-and-stick or painted backsplash, new light fittings, faucet swap, open shelves replacing one upper cabinet. No layout change, no trades beyond maybe an electrician for an hour.
- Mid-range remodel ($5,000 to $15,000): new worktops, semi-custom or refaced cabinets, new sink and appliances, tiled backsplash, flooring, under-cabinet lighting. This is where most small kitchens should aim: everything looks and works new, the walls do not move.
- Full remodel ($15,000 to $35,000 plus): custom cabinets, layout changes, moved plumbing or electrics, structural work. Worth it for a forever home; hard to justify on resale value in a small property, because kitchen value does not scale down with size as fast as costs do.
The rule that keeps budgets sane: spend on what you touch daily (worktop, faucet, drawer runners, lighting) and save on what you only look at (backsplash tile, cabinet door style).
The Order of Work (Getting This Wrong Costs Money)
- Plan and measure everything, including appliance sizes, before ordering anything.
- Demo and rough trades: plumbing and electrical changes first, while everything is open.
- Flooring, after cabinets are out if it runs wall to wall, or up to cabinet feet if not.
- Cabinets in, levelled and fixed.
- Worktop templating and fitting (stone and quartz need the cabinets in place and a waiting period; laminate can go same-week).
- Backsplash tiling after the worktop is in.
- Sink, faucet, appliances and lighting.
- Paint touch-ups, hardware, shelves and styling last.
Painting walls before cabinets go in is fine; painting after everything, with masking, is how people end up repainting twice.
DIY or Pro? The Honest Split
- Confident DIY: painting cabinets (with proper prep, below), open shelving, hardware swaps, peel-and-stick backsplash, LED strip lighting, faucet swap if the valves behave, rolling cart assembly, most cosmetic work.
- Hire a pro: anything electrical beyond swapping a like-for-like fitting, gas in any form, moving plumbing, worktop cutting for stone or quartz, and structural changes. In a small kitchen one bad cut or leak damages a larger share of the room than in a big one.
- Middle ground: cabinet refacing. New doors and drawer fronts on sound existing boxes costs roughly a third to half of new cabinets and a competent DIYer can fit them, but hinge alignment on a whole kitchen tests patience.
The 12 Upgrades That Fit a Small Kitchen
1. Paint the Cabinets, Properly
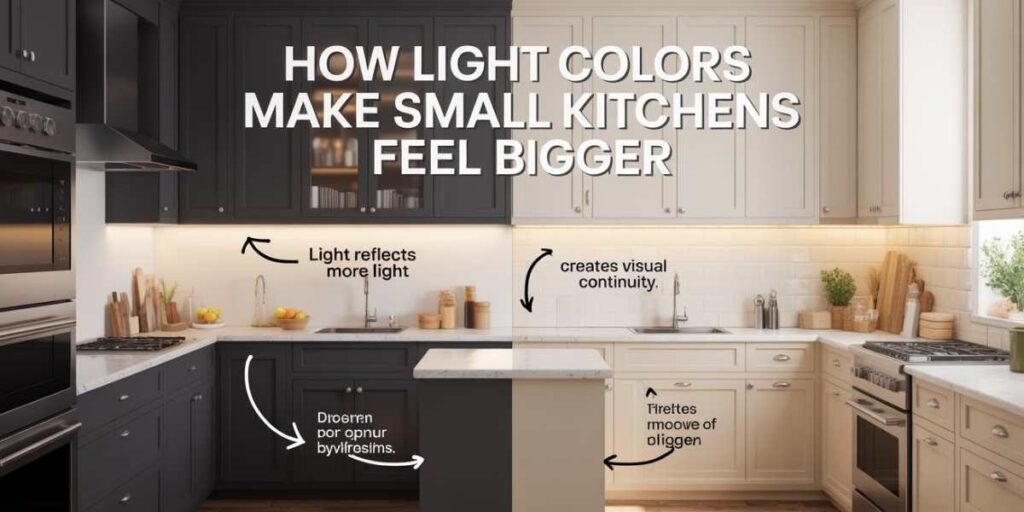
The highest-impact, lowest-cost remodel move. Properly means: remove doors, clean with a degreaser, sand, prime with a bonding primer, then two coats of cabinet enamel with a foam roller or sprayer, curing fully between coats (24 hours minimum, a week before hard use). Skipping prep is why painted cabinets peel. Light colors up top make the room feel taller; a deeper color below follows the two-tone logic in our black and white kitchen decor guide.
2. Hardware and Faucet Swap
New handles in one consistent finish, sized up from the old ones (longer pulls look more current), plus a pull-down faucet. Half a day, a few hundred dollars, and the kitchen reads years younger. Keep the old hardware until the new is fitted, in case hole spacings differ.
3. Under-Cabinet Lighting
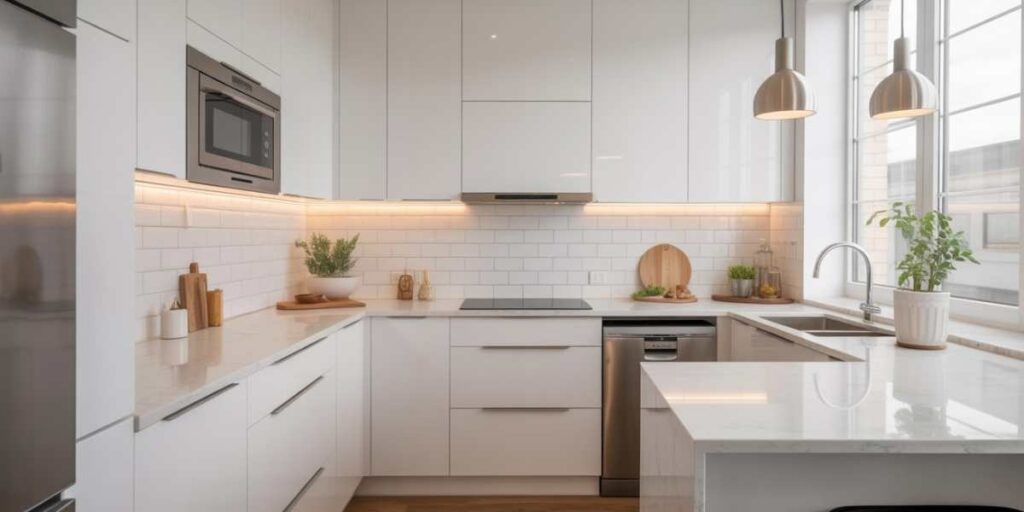
LED strips or pucks under the uppers kill the worktop shadows that make small kitchens feel dingy, and they make the room usable as ambient light at night. Budget $30 to $120; hardwired or plug-in both work. This one upgrade appears in every before-and-after for a reason.
4. A Rolling Island Instead of a Built One
In kitchens under about 8 square metres, a fixed island usually breaks the walkways. A rolling cart or slim island on lockable casters (90 to 120 cm long, 45 to 60 cm deep) gives worktop and storage when cooking and parks against a wall afterwards. Keep at least 90 cm of clearance on the working side when it is rolled out.
5. Open Shelves Where One Cabinet Stood
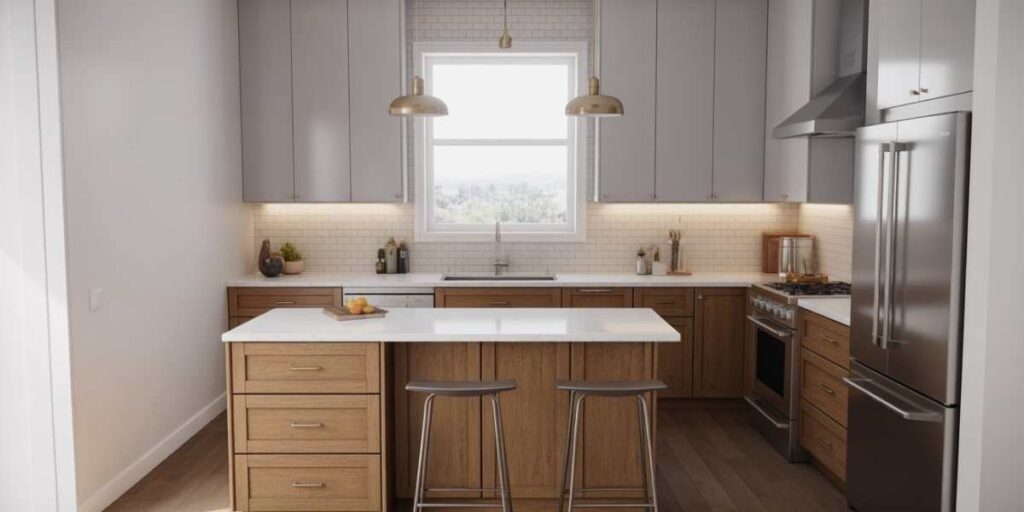
Removing a single upper cabinet and fitting two open shelves in its place is the fastest way to make a small kitchen breathe. Put the daily dishes and glasses there, not the rarely used clutter, and the shelf stays tidy because it is used.
6. Full-Height Storage on the Dead Wall
The wall with the door or the fridge gap usually holds nothing above head height. Shelves or a shallow (25 to 30 cm) tall unit up to the ceiling stores the slow cooker, the big pans and the once-a-month appliances, freeing the main cabinets for daily things.
7. Drawer Conversion in One Base Cabinet
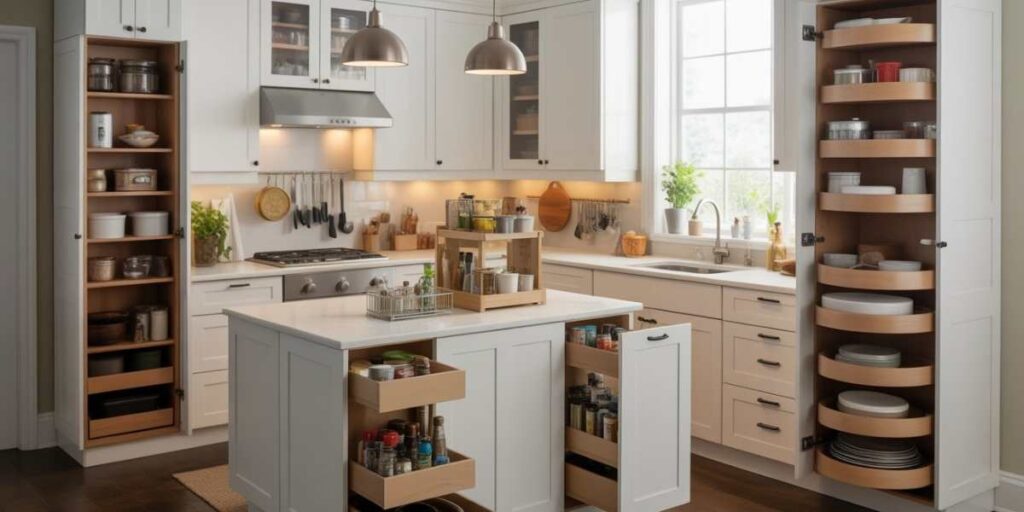
Converting one cupboard base unit to deep drawers (or adding pull-out baskets inside it) transforms access to pots and pans, the worst storage in most small kitchens. Retrofit pull-outs cost $50 to $200 per cabinet and fit with screws in an afternoon.
8. Backsplash That Earns Its Cost
Full-height tile is the mid-range splurge worth making in a small kitchen because the area is tiny, so the cost is tiny: 2 to 3 square metres of tile is a weekend job. Peel-and-stick panels are the budget version; choose heat-rated ones behind a stove, or tile just that section.
9. Appliances Sized to the Room
A slimline dishwasher (45 cm), an under-counter fridge in a one-person home, or a combination microwave-oven frees whole cabinet widths. Integrated appliances with cabinet fronts make a small kitchen look calmer than a row of mismatched white boxes.
10. Flooring in One Continuous Run
Run the same flooring from the kitchen into the hallway or living area with no threshold strip, and the kitchen borrows visual space from the next room. Large-format tiles or planks (fewer grout lines and joints) make a small floor look bigger; small busy patterns do the opposite.
11. A Rail System on the Backsplash Wall
A rail with hooks for utensils, pans and a small herb pot empties two drawers and the utensil crock from the worktop. In a small kitchen, every cleared 30 cm of worktop is a real workspace gain.
12. Light Colors With One Dark Accent
Paint walls and uppers in a warm light tone, keep the floor mid-toned, and let exactly one element go dark, the lower cabinets, the worktop, or the island cart. Small kitchens tolerate one dark note beautifully and two not at all.
Apartment and Renter Remodels
What you can do without touching the structure: peel-and-stick backsplash and floor tiles, cabinet painting only with written landlord permission (otherwise removable vinyl wraps on doors), hardware and faucet swaps keeping the originals to refit, plug-in under-cabinet lights, a rolling island, and open shelving only where fixings are allowed. Photograph everything first, store every original part in one labelled box, and the kitchen returns to its start condition in a weekend.
Common Mistakes
- Changing the layout in a kitchen that only needed refreshing. Moving plumbing is the single biggest cost multiplier in a small remodel.
- Ordering appliances before measuring. A 60 cm range in a 55 cm gap is a classic, expensive own goal.
- Dark cabinets everywhere in a windowless kitchen. One dark element is a style; four are a cave.
- Skipping cabinet paint prep, then blaming the paint when it peels by spring.
- Spending the budget on the backsplash and keeping the failing faucet, the dim light and the cupboard you cannot reach into. Touch-points first, pictures second.
Final Thoughts
Remodel a small kitchen in the right order, at the right tier, and it feels like a new room for a fraction of a full renovation: prep and paint the cabinets, fix the light, convert the worst cupboard to drawers, add a rolling island, and keep layout changes for the homes that truly need them.
Frequently Asked Questions
How much does a small kitchen remodel cost?
A cosmetic refresh runs about $500 to $2,500, a mid-range remodel with new worktops, refaced or semi-custom cabinets and new appliances about $5,000 to $15,000, and a full remodel with layout changes $15,000 to $35,000 or more. Most small kitchens get the best value from the mid-range tier.
In what order should I remodel a small kitchen?
Plan and measure first, then any plumbing or electrical changes, flooring, cabinets, worktops, backsplash, sink and appliances, and finally hardware, shelves and paint touch-ups. Painting and styling always come last.
What is the cheapest remodel that makes a real difference?
Painting the cabinets properly (degrease, sand, bonding primer, two coats of cabinet enamel), swapping the hardware, and adding under-cabinet LED lighting. Together they cost a few hundred dollars and change how the kitchen looks every single day.
Is a kitchen island possible in a small kitchen?
Usually not a fixed one: walkways need about 90 cm. A rolling island or cart 90 to 120 cm long gives the same worktop and storage, parks against the wall when not in use, and needs no building work.
Which jobs should I never DIY in a kitchen remodel?
Gas work, new electrical circuits, moved plumbing and structural changes belong to licensed professionals in most places. Cabinet painting, shelving, hardware, peel-and-stick surfaces and plug-in lighting are the safe DIY territory.

Hi, I’m Ashir Zahid! I’m a home décor writer and creative enthusiast who loves finding simple and beautiful ways to make everyday spaces feel more comfortable and inviting. I enjoy exploring home styling ideas, practical decorating tips, and timeless trends that can work in real homes without making things feel complicated.
At DailyHomeVibe, I share easy-to-follow ideas for decorating different rooms, choosing the right colors and textures, and giving your home a fresh look with thoughtful details. My goal is to help readers find inspiration they can actually use, whether they are refreshing one small corner or giving their whole home a new feel.