
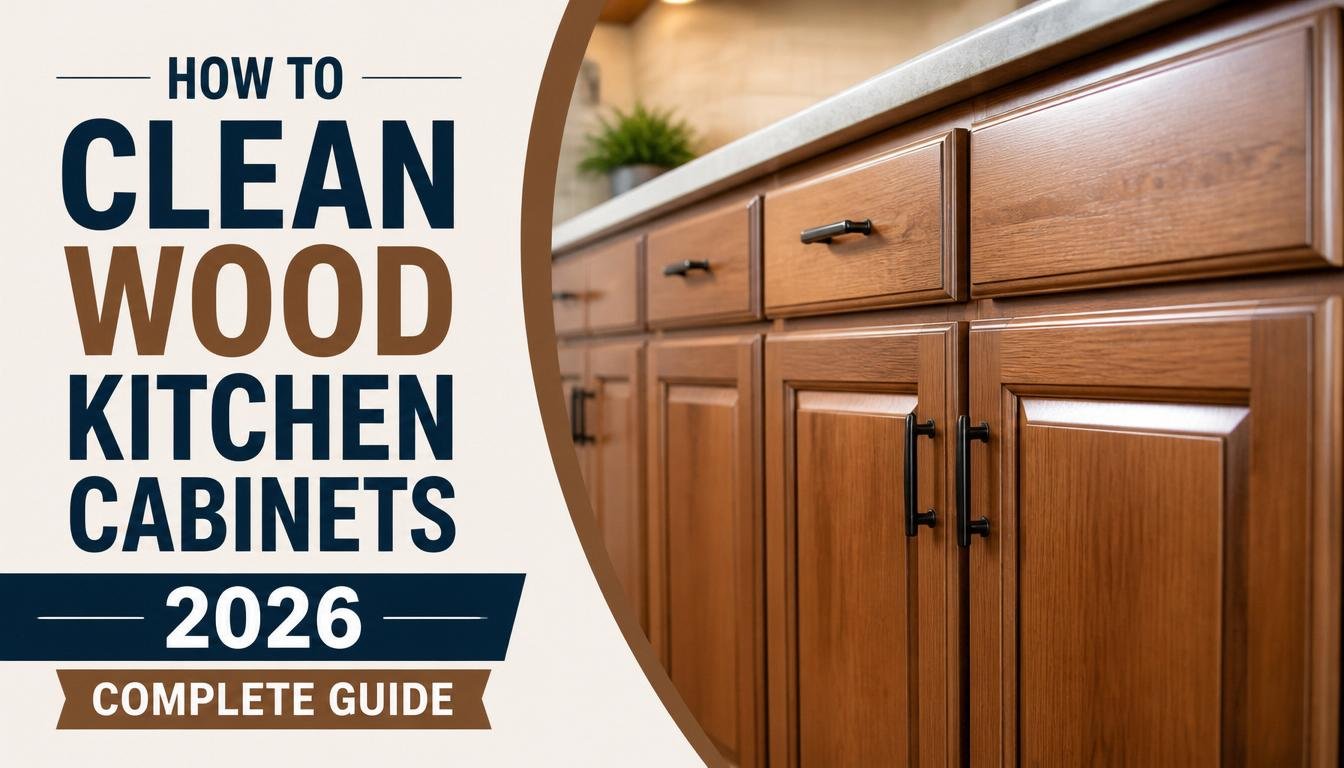
Grease, fingerprints, and everyday grime build up fast on kitchen cabinets, and reaching for whatever’s under the sink can quietly strip the protective coating they rely on. Most people don’t realize the wrong cleaner doesn’t just fail to clean, it actively damages the finish over time, sometimes without showing it right away.
The safest approach is warm water with a mild dish soap or Murphy Oil Soap, applied with a damp microfiber cloth and dried immediately, never vinegar, which is too acidic for most finishes.
That matters more in 2026 than it used to. Expert advice has shifted noticeably away from vinegar toward gentler, pH-neutral solutions backed by cleaning scientists and professionals. This guide covers everyday cleaning, deep-cleans, stubborn grease, and the mistakes that quietly damage a finish, following that current consensus.
What You’ll Need
Before starting, gather a few basics: a microfiber duster or vacuum with a brush attachment, two or three clean microfiber cloths, a mild dish soap or Murphy Oil Soap, a soft-bristled toothbrush, and two buckets of warm water. Nothing here is specialty equipment, most of it’s probably already in your kitchen.
How Long This Actually Takes

A routine wipe-down takes about 15 to 20 minutes for an average kitchen. A full deep-clean, including hardware, crevices, and a polish at the end, runs closer to an hour. Neither is a big time investment for how much difference it makes.
The Vinegar Question: Should You Actually Use It?
Short answer: no, not on finished wood cabinets, despite what a lot of older cleaning advice still suggests.
Vinegar is acidic, typically somewhere between a pH of 2.2 and 4, and that acidity is exactly the problem. It gradually breaks down waxed and varnished finishes, and on woods with higher tannin content like oak or maple, it can even cause discoloration.
A handful of well-known sources still recommend a diluted vinegar mix, but the more recent, expert-backed consensus, including cleaning scientists and professional cleaning services, has shifted firmly away from it. The risk simply isn’t worth it when a mild dish soap does the job just as well without any of the downsides.
If you’ve been using vinegar for years without visible damage, that doesn’t mean it’s safe, finish damage from acidic cleaners tends to show up gradually as dullness rather than all at once.
Dust First (Don’t Skip This Step)
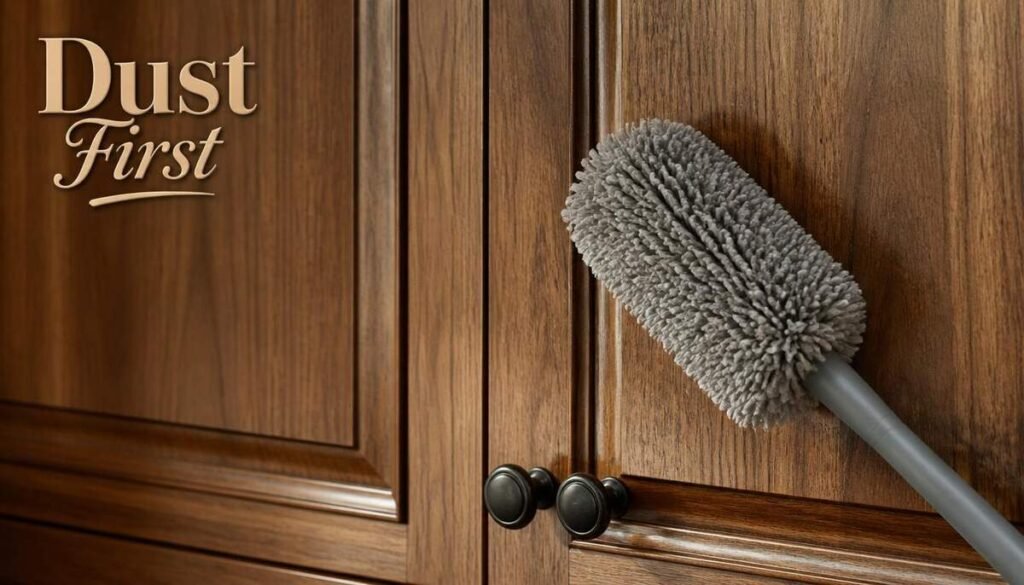
It’s tempting to jump straight to wiping cabinets down, but skipping this step is one of the most common mistakes. Dry dust and crumbs turn into a sticky, hard-to-remove sludge the moment they meet a damp cloth. Run a microfiber duster or a vacuum with a soft brush attachment from the top of the cabinets down to the baseboards first, every single time.
Everyday Cleaning: The Three-Towel Method

For weekly maintenance, three towels and two buckets keep things simple and streak-free.
1.Towel one (cleaning): Dip it in warm water mixed with a capful of Murphy Oil Soap or a few drops of mild dish soap, wring it out until just damp, and wipe the cabinets.
2.Towel two (rinsing): Dip this one in a separate bucket of plain warm water, wring it out, and go over the same surfaces to lift any leftover soap residue.
3.Towel three (drying): Immediately buff the wood dry with a clean microfiber cloth. This last step matters more than people expect, since leftover moisture is what actually causes swelling and water spots, not the cleaning itself.
Always wipe in the direction of the wood grain rather than in circles, it’s a small habit that noticeably reduces streaking over time.
How to Deep Clean Wood Kitchen Cabinets
A monthly deep-clean follows the same three-towel process, just more thoroughly, doors open, hinges included, and a bit more attention to areas that get skipped during quick weekly wipes. This is also the right time to check for any early signs of finish wear before they turn into bigger problems.
How to Clean Old Wood Kitchen Cabinets
Older cabinets need a gentler touch than newer ones, since decades of wax buildup, sun exposure, and worn finish make the wood more sensitive to scrubbing and moisture. Stick to the mildest cleaning solution possible, a few drops of dish soap in warm water, and skip anything abrasive entirely, older finishes are thinner and show damage faster than a newer coat. If the wood looks dull rather than dirty after a normal clean, that’s usually wear, not grime, and a wood-safe polish (not a stronger cleaner) is the better fix.
Removing Stubborn Grease and Stains
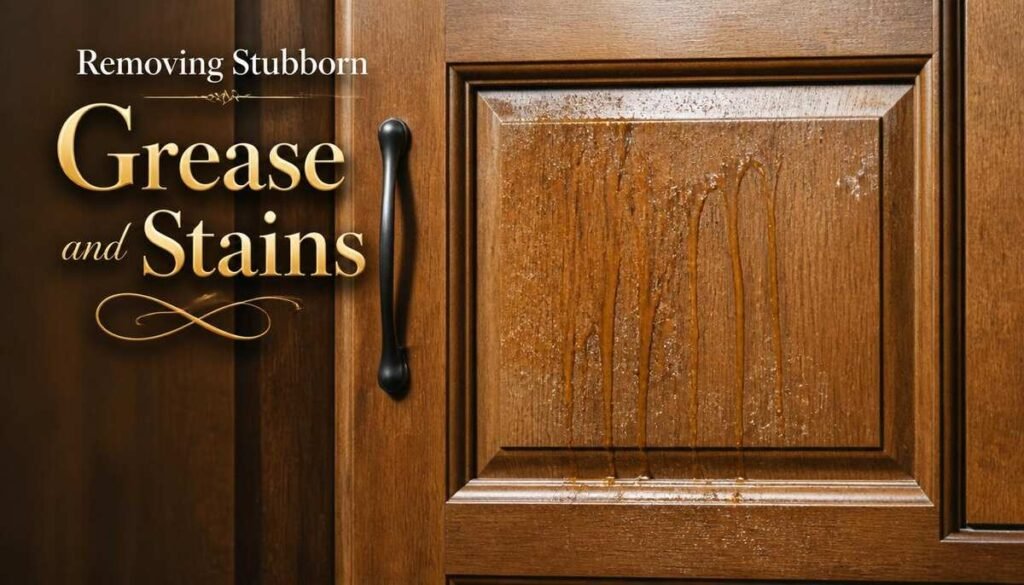
Cabinets right above or beside the stove take the most abuse, and general soap and water sometimes isn’t enough there. For heavier grease, a small dab of blue Dawn dish soap on a warm, non-scratch sponge cuts through buildup without needing anything harsher. Let it sit on the spot for about a minute before wiping, then follow with the rinse-and-dry towels as usual.
Wiping down this stovetop-adjacent area weekly, rather than waiting for grease to really set in, saves a lot of scrubbing later.
Detailing Crevices and Hardware
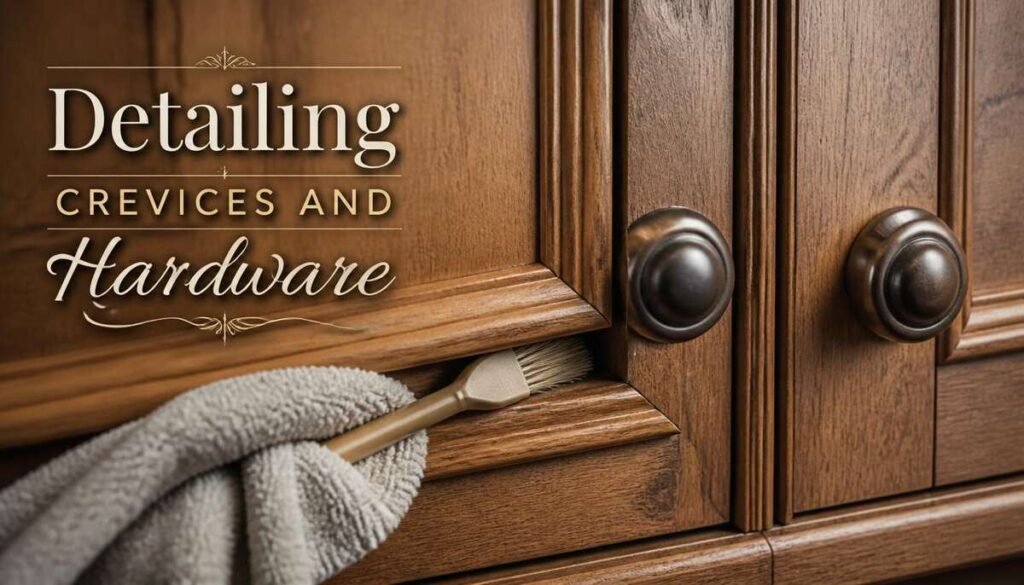
Grime loves to hide in decorative molding, corners, and around door hardware. A soft-bristled toothbrush handles these small spaces well, since it gets into gaps a cloth can’t reach. Cabinet handles and knobs can be cleaned the same way as the rest of the cabinet, mild soap and water, followed by a thorough dry so moisture doesn’t sit in the hinges.
Polishing for Extra Shine
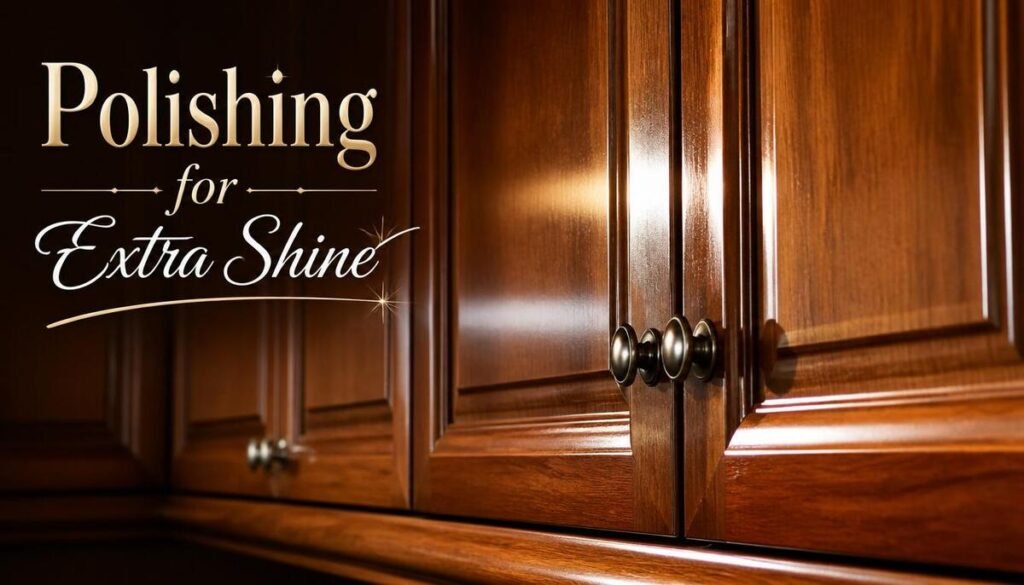
Once everything’s clean and completely dry, a small amount of furniture wax or a wood-safe polish, buffed in with a soft cloth, brings back shine that everyday cleaning alone won’t restore. This isn’t a weekly step, once every few months is usually enough, more often can actually build up a waxy residue over time.
Cleaning Cabinets With Glass Doors

Glass-front cabinets need a slightly different approach. Spray glass cleaner onto a cloth first rather than directly onto the cabinet, since overspray containing ammonia can land on the surrounding wood and damage the finish. Wipe the glass separately from the wood frame, treating them as two different surfaces rather than one continuous wipe-down.
How to Help Your Cabinets Last Longer
A few habits go a long way between cleanings. Wipe up spills and splatters as soon as they happen rather than letting them sit, standing moisture is one of the fastest ways to damage a finish. Keep cabinets away from prolonged direct sunlight where possible, since UV exposure fades and dries out wood finishes over time the same way it does furniture. And resist the urge to reach for a “stronger” cleaner when in doubt, mild and consistent almost always beats harsh and occasional.
Cleaning Cherry Wood Cabinets Specifically
Cherry wood behaves a little differently than oak or maple, it naturally darkens and deepens in color with age and sun exposure, which is normal and not a sign of damage. The same mild soap-and-water method works fine here, but keep cleaning products consistent across all doors, since even small differences in product or technique can create slightly uneven tone over time on a wood known for shifting color. Avoid anything with ammonia or strong solvents in particular, cherry’s finish tends to show chemical damage more visibly than lighter woods.
Quick Reference: What to Use vs. What to Avoid
| Use This | Avoid This |
| Mild dish soap or Murphy Oil Soap | Vinegar (any concentration) |
| Blue Dawn for stubborn grease | Ammonia-based cleaners on wood |
| Microfiber cloths | Steel wool or scouring pads |
| Wood-safe furniture wax | Abrasive powders or bleach |
The One Habit That Saves Your Cabinets’ Finish for Good
Picture this: a cabinet that’s been wiped down a thousand times over the years and still looks like it did on day one, no dullness, no water rings, no faded patches near the stove. That’s not luck, and it’s not an expensive finish doing all the work. It comes down to one habit repeated consistently, using something gentle instead of something strong, every single time, even when a tougher cleaner feels like the faster fix.
The biggest threats to a cabinet’s finish aren’t dirt or grease, they’re acidic cleaners, standing moisture, and abrasive tools reached for out of impatience. Stick to mild soap, dry thoroughly, and match your method to your wood type, and the finish will hold up for years without needing anything more aggressive.
FAQ Section
What is the best thing to use to clean wood cabinets?
A mild dish soap or Murphy Oil Soap mixed with warm water is the safest, most effective option for regular cleaning without damaging the finish.
How do you make wood cabinets look new again?
A thorough clean followed by a wood-safe furniture wax or polish, buffed in with a soft cloth, restores shine that everyday cleaning alone can’t bring back.
How do I clean wooden cabinets at home without special products?
Warm water and a few drops of mild dish soap, applied with a damp microfiber cloth and followed by a dry buff, handles most everyday cleaning without needing specialty products.
Can I use vinegar to clean wood cabinets?
It’s best avoided. Vinegar’s acidity can gradually break down waxed or varnished finishes and discolor certain wood types, even when diluted.
How often should wood kitchen cabinets be deep-cleaned?
Once a month is generally enough for a full deep-clean, with a quick wipe-down weekly for high-traffic areas like cabinets near the stove.

Hi, I’m Ashir Zahid! I’m a home décor writer and creative enthusiast who loves finding simple and beautiful ways to make everyday spaces feel more comfortable and inviting. I enjoy exploring home styling ideas, practical decorating tips, and timeless trends that can work in real homes without making things feel complicated.
At DailyHomeVibe, I share easy-to-follow ideas for decorating different rooms, choosing the right colors and textures, and giving your home a fresh look with thoughtful details. My goal is to help readers find inspiration they can actually use, whether they are refreshing one small corner or giving their whole home a new feel.